To make their clay pots, Stone age potters would first have had to gather their materials. They would have got a lump of raw solid clay which they would bash in to small flakes. Then, they would add and mix in: quartz, crushed fruit and shells, old, burned clay pots and water. When this was smooth, they would get roughly a quarter of the clay, pinch it and flatten it into a base with short edges. Next, they would roll out their clay, bit by bit, and coil it up on top of the layer underneath. After that, they would use flint scrapers to smooth the sides. Next they would use their fingers, bird bones, claws and antlers to decorate the pot. Finally, they would set them on fire to turn them in to earthenware.
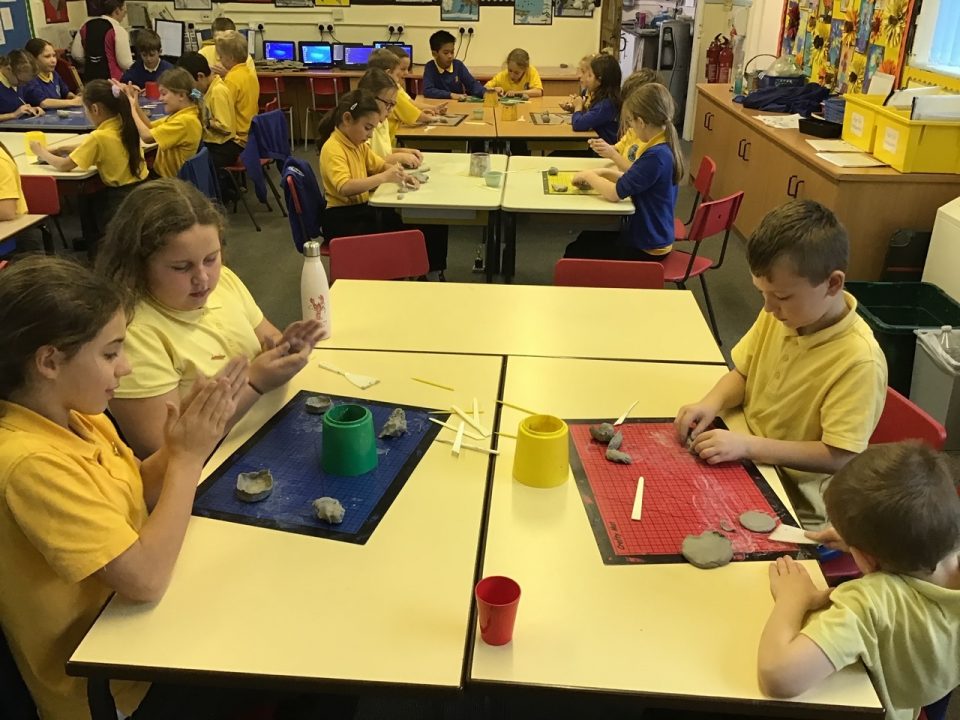
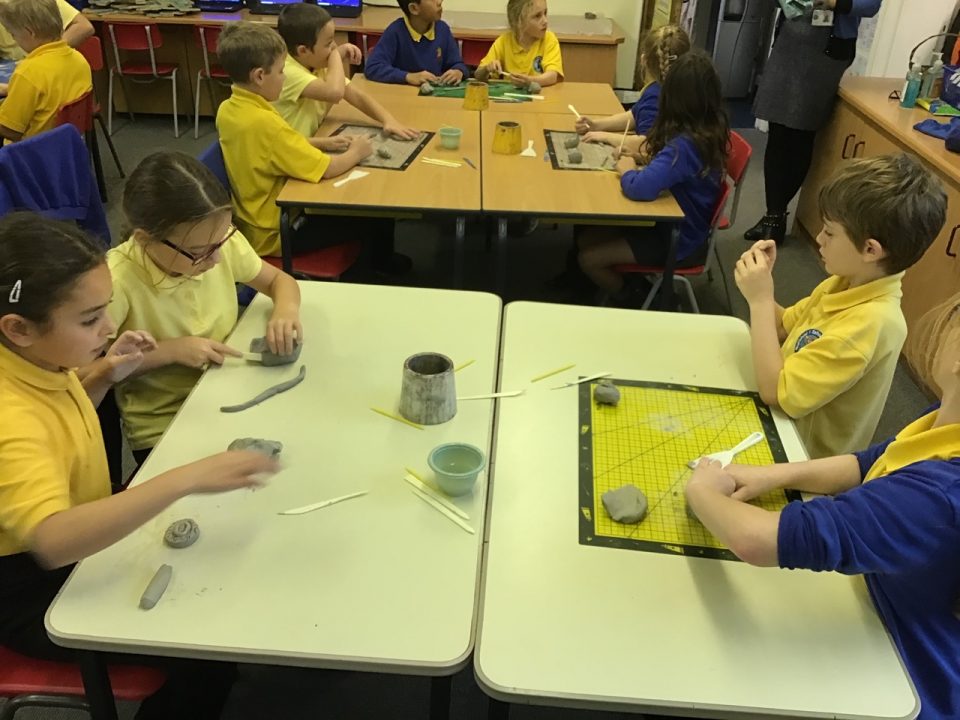
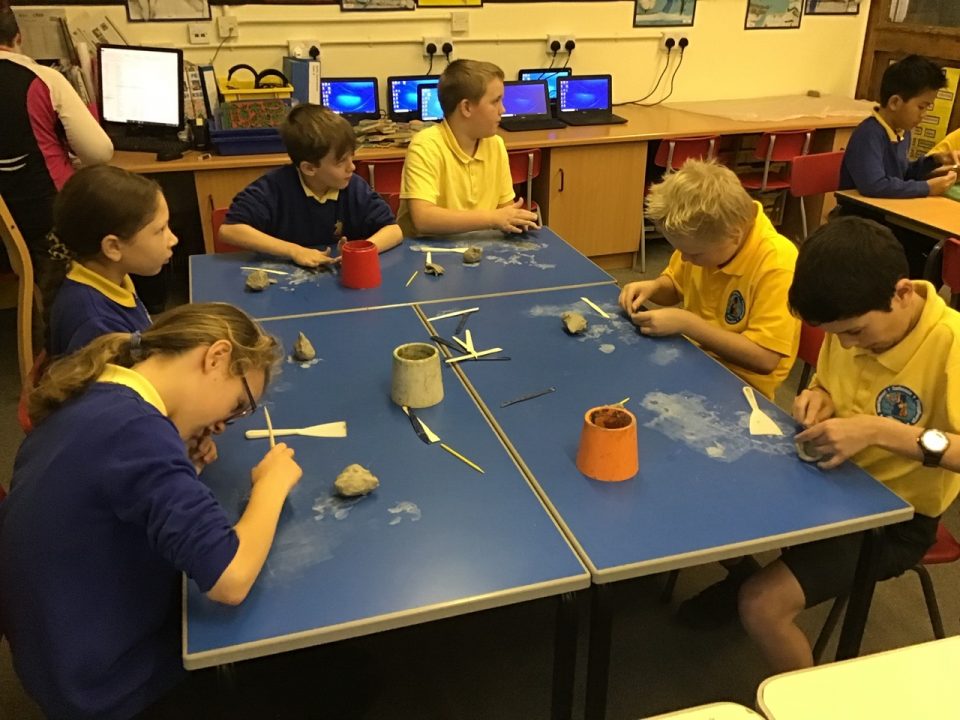
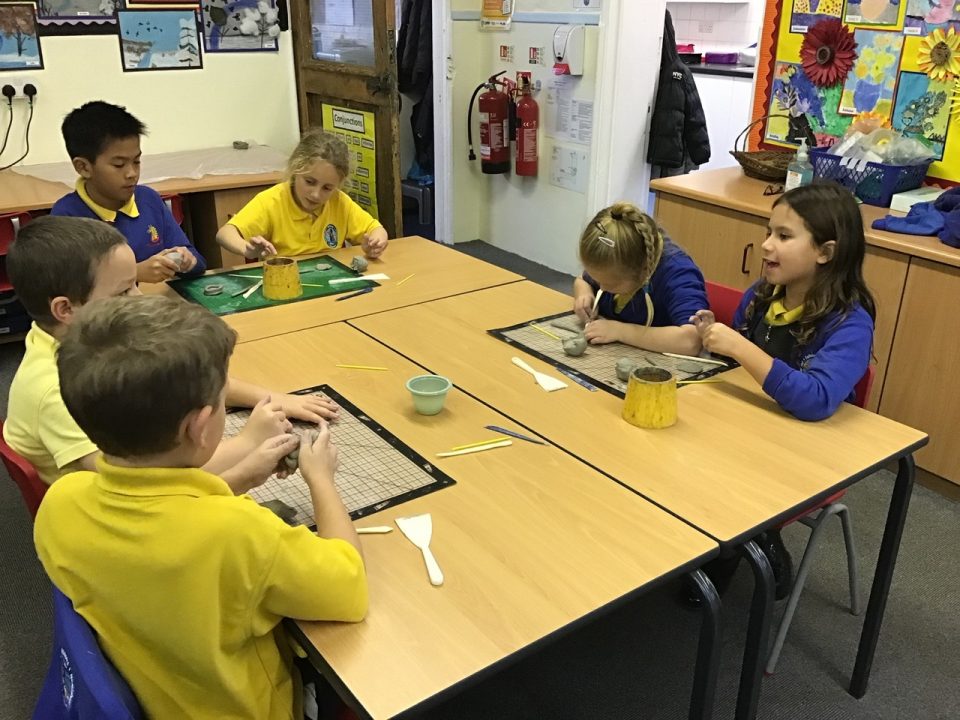
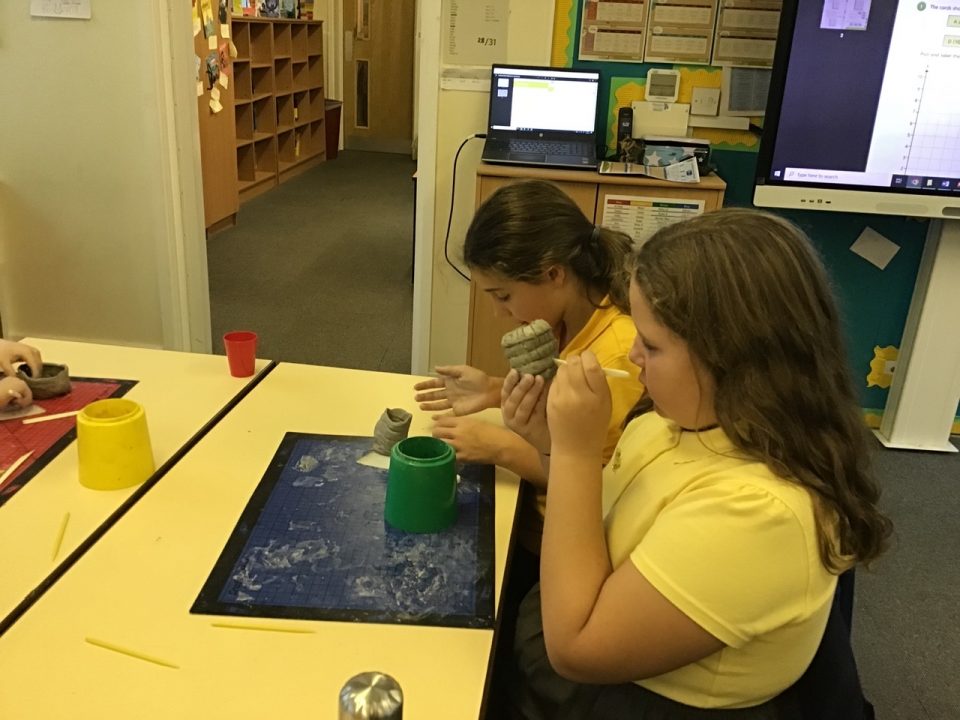
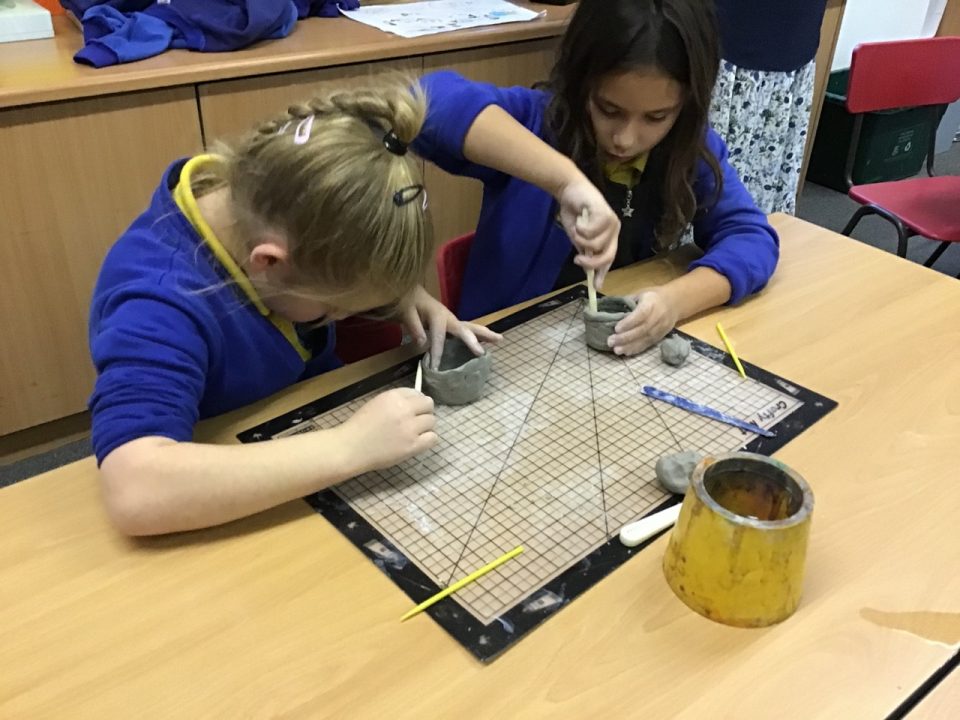
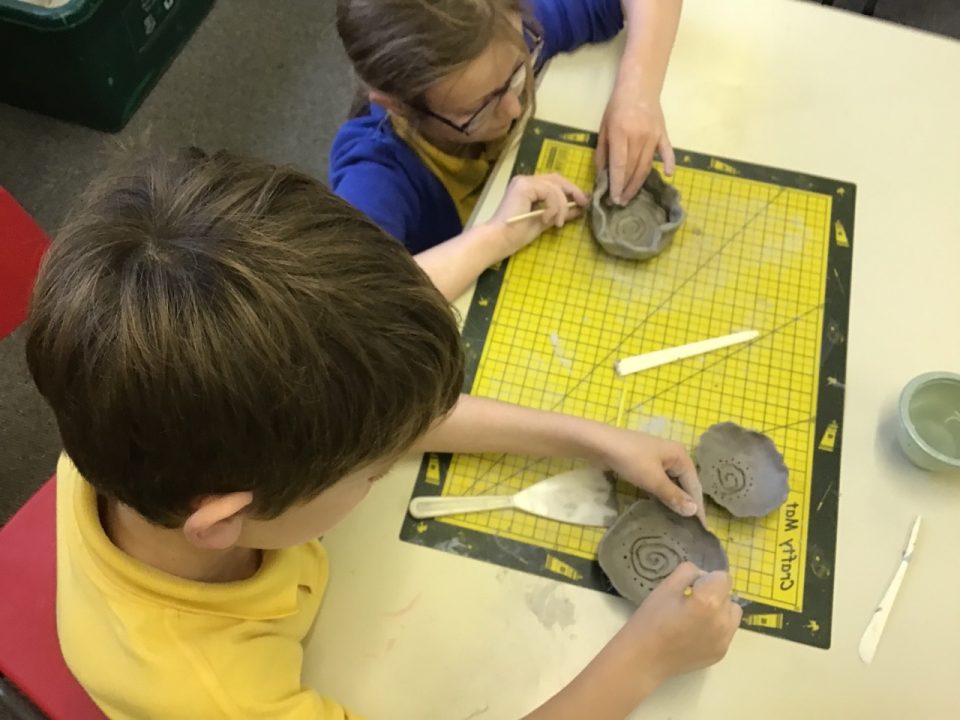
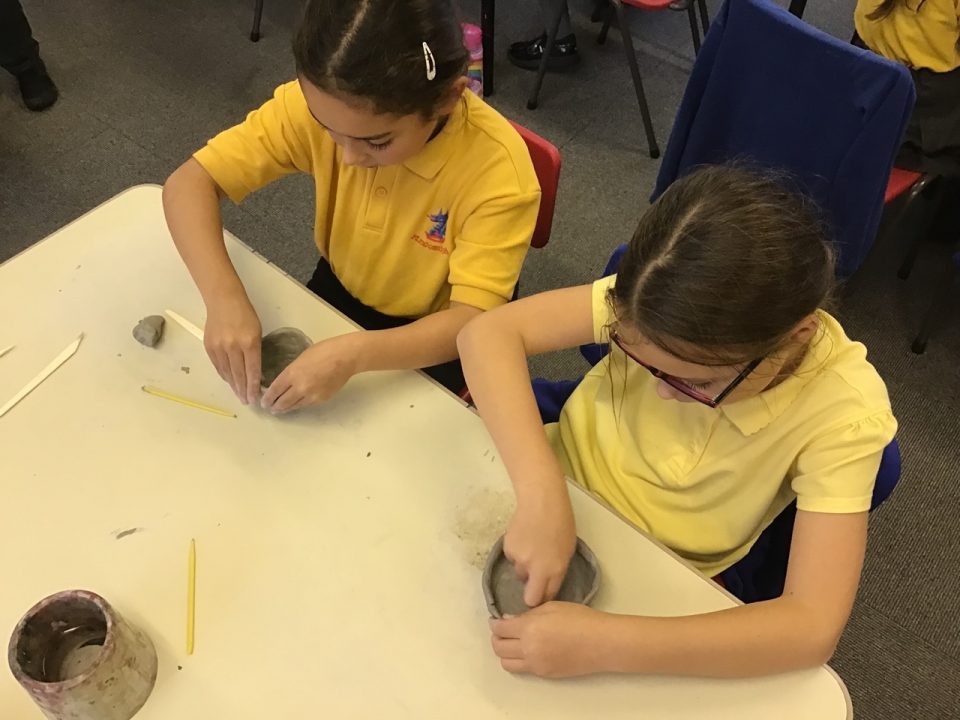
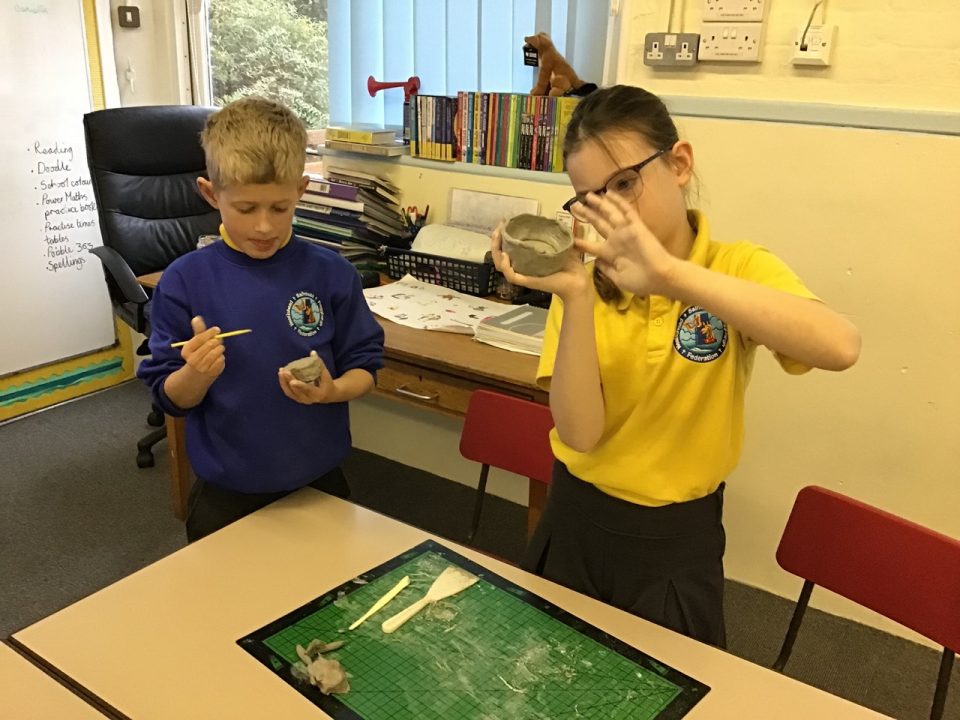
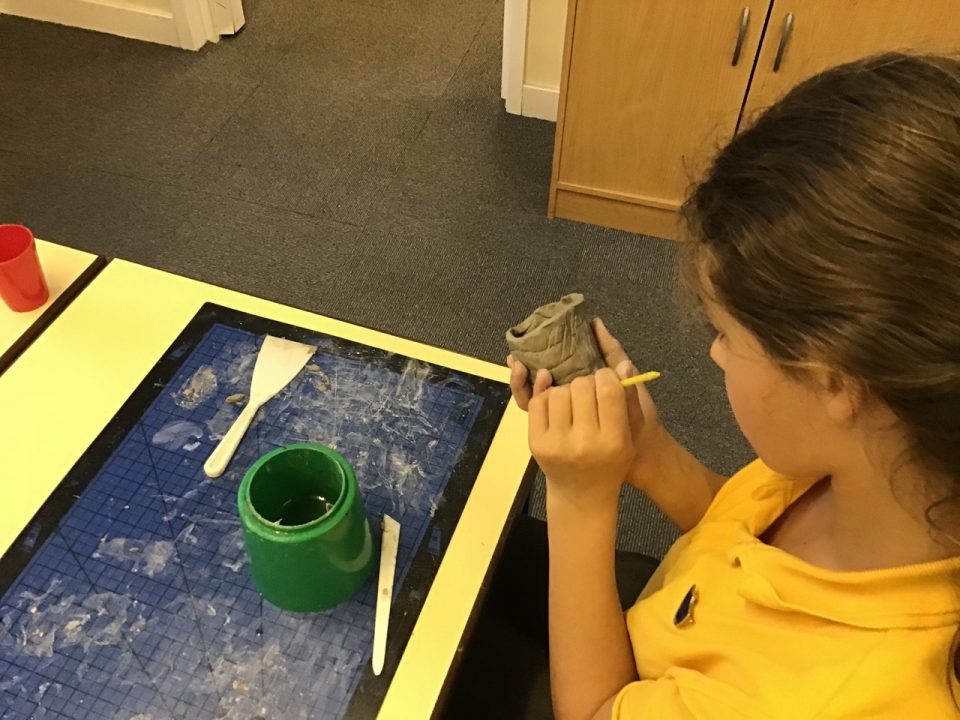
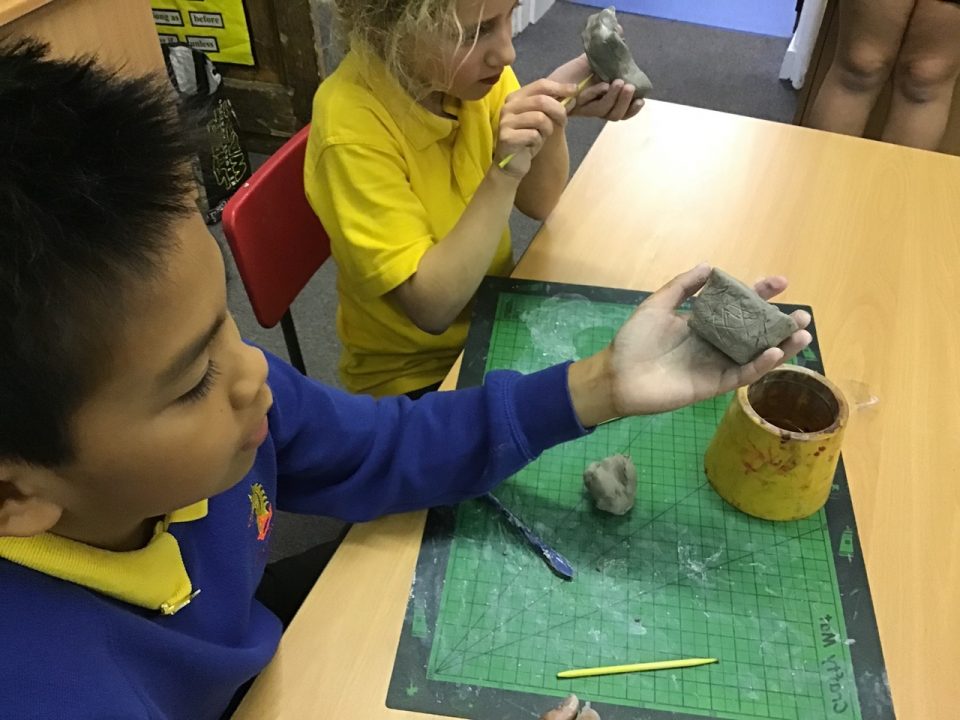
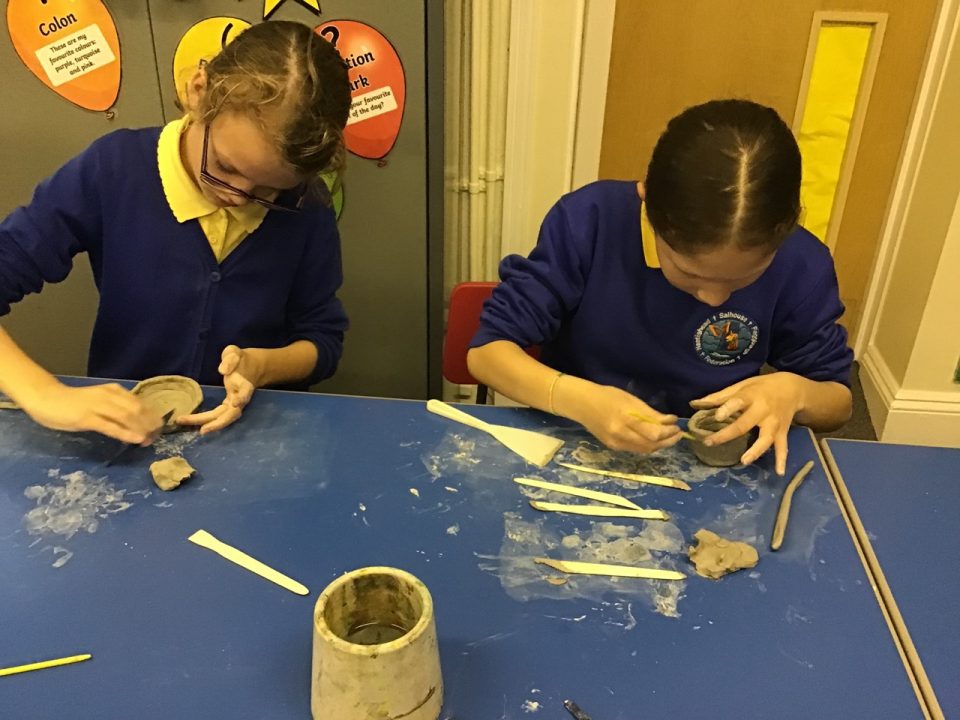
To make a pinch pot we simply flattened the clay and pinched up the edges. For the coil pots, we made our base first. Then we scored diagonal slashes across the coils of clay and the base. We put a little amount of water on the layers and put the coils around the rim, lining up the scores to help them join the layers together. We continued this process until we had a pot. Then we used our tools to smooth the edges and add our decorations, just like the Stone Age people would have done.
Jamie and Maya